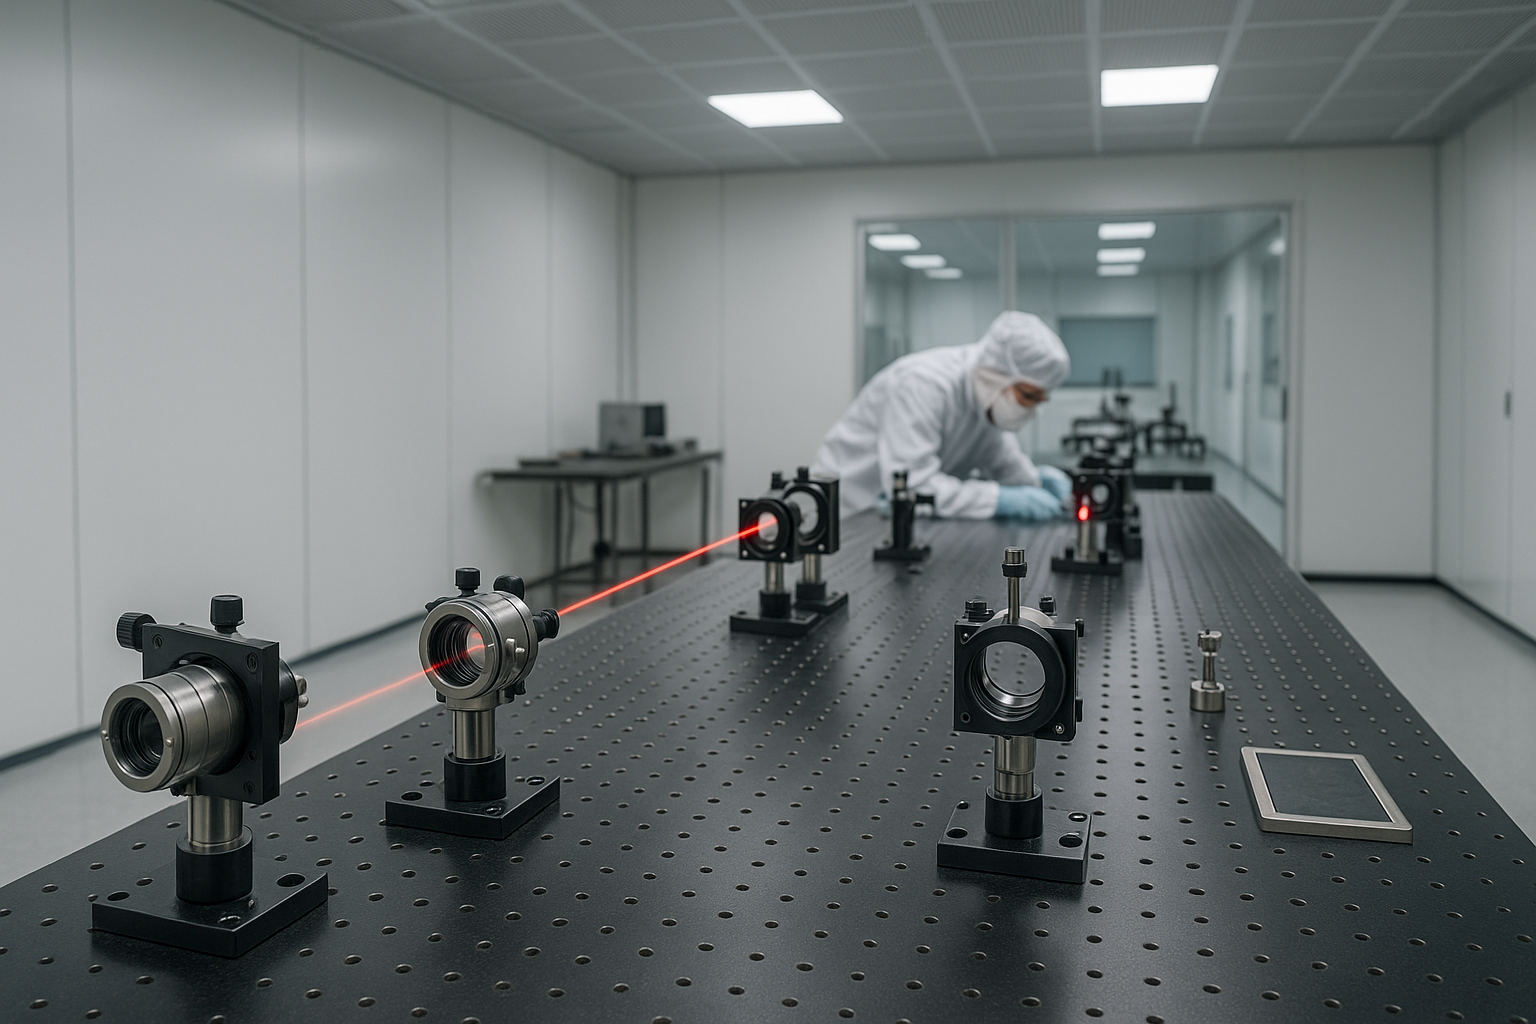
Every Micron Counts in Laser Optics Assembly
A laser beam doesn’t forgive mistakes.
In every laser optics assembly, the difference between a perfect beam and a weak one can be just 5 microns.
That’s why engineers spend hours checking flatness, alignment, and surface finishes — even when everything already looks “good enough” to the naked eye.
1. The Core: Precision-Machined Optical Housings
A stable laser system begins with a rigid, perfectly machined housing.
Typical materials include 6061-T6 aluminum, 17-4PH stainless steel, and black-anodized alloys for better thermal control.
| Parameter | Typical Value |
|---|---|
| Dimensional tolerance | ± 0.005 mm |
| Surface roughness (Ra) | ≤ 0.02 µm |
| Flatness | ≤ 0.01 mm |
| Coaxial deviation | ≤ 0.01 mm |
Each bore and thread is cut to fit the optical elements with zero stress, avoiding any distortion of the beam path.

2. Surface Finishing — More Than Just Appearance
When light meets metal, reflection control becomes critical.
That’s why optical housings often use:
-
Type III black anodizing for light absorption
-
Electroless nickel plating for corrosion and dimensional stability
-
DLC coating on sliding parts for smooth motion
-
MoS₂ dry-film lubrication on precision threads
These aren’t cosmetic choices — they keep your beam stable, reduce scatter, and improve long-term reliability.

3. Alignment: The True Test of Skill
Assembly is where patience meets precision.
Using CMM, laser interferometers, and torque tools (0.2 – 0.5 N·m), technicians align lenses and mirrors to within ± 0.03° angular and ± 0.01 mm positional accuracy.
A slight misalignment at the source can cause a 2 mm beam offset at a 2 m distance — unacceptable in medical imaging or LiDAR applications.

4. Fighting Heat with the Right Materials
Thermal expansion silently ruins precision.
That’s why top assemblies match materials by CTE (Coefficient of Thermal Expansion) — pairing glass lenses (e.g., BK7, 7.1 × 10⁻⁶/K) with aluminum or Invar mounts that expand at similar rates.
Even after thousands of heating cycles, alignment stays true.
5. Final Assembly in a Cleanroom
No matter how precise the machining is, dust can destroy performance.
That’s why final builds happen in Class 1000 cleanrooms:
-
Components are ultrasonically cleaned
-
Assemblies handled with nitrile gloves
-
Each system tested for beam profile, vibration, and optical stability
Only after passing those checks can an optical assembly be labeled “ready for precision work.”
Conclusion: When Machining Meets Light
Laser optics assembly sits at the intersection of mechanical accuracy and optical science.
Every parameter — from ± 0.005 mm tolerances to nanometer-smooth surfaces — determines how precisely your laser performs.
At XY-GLOBAL, we bring that mechanical discipline into every optical project, ensuring your beam stays exactly where it should: on target.

Share:
CNC Optical — Precision Machining for Optical Components
How Ultra Precision Diamond Turning Enables True 0 Tolerance CNC Machining